Last weekend, we camped in Bushnell, FL and it rained. It rained inches of water. My first indication of an Ohh Oooooooo was water on the floor by the kitchen drawers. I found the water coming down the grey water tank vent and then dripping down the front of the refrigerator and puddling on the floor. a towel was strategically placed to prevent damage (soak up water).
The next morning while working under the nose cap I realized water was dripping on me from an area where no water should be. Pushing on the underside of the nose piece revealed water in the nose piece. I tried reaching in through the hitch but no luck. I then drilled three holes to let the water out, but I did not get a free flow until I made the drilled hole 1/4 inch. I have to thank my SweetheartFace for the suggestion to use a larger drill bit.
So now we are moored alongside our quarters and roof maintenance has begun. Between 95 degree days, and parts runs to Revels Nationwide RV Accessory, Starke, FL. this job could go on for ever!

One of my favorite tools for working on my RV. The screws that were factory installed are square drive steel. Since I find many that were badly rusted, I change them out for a slightly larger stainless steel Phillips screw. If you set them with a power driver, I recommend final tightening with a manual screwdriver.

At this point, I have already removed all of the old Dicor sealant from the seam. Some previous owner had also used some form of silicone sealant on the seams leading edge, between the seam and the fiberglass nose piece. Never use silicone sealant on your RV. Since I have a rubber roof membrane, I always use Dicor sealants. I have started laying the Dicor Lap Sealant from the far side.
At the back of the picture there is a small dent in the roof and the seam, With the Dicor in the shape it was in, that would make an excellent place for water to pool and seep into the nose cap. Since I will never know exactly how the water entered I must seal every possible avenue that water could flow or seep.

A close up of the seam on the near side, cleaned and waiting for the Dicor.

The right side edge where the roof rolls over to become the right side of the RV. I intend to cover the entire seam with 6 inch EternaSeam tape but that will be done later after I have repaired all possible roof leaks.

I use a battery operated caulking gun made by Ryobi. It was relatively inexpensive and uses the same batteries as my drill. You have to manually take the pressure off the caulking tube but you can set the speed for expelling the caulking with a switch on the gun. I am not one who can regulate flow in a manually operated caulking gun; I have a hard enough time with this one. Also, when running a bead you can not see behind you. When you hit an obstacle it is reflected in the bead.

Roof looking back, the roof on this rig is 15 years old. When all repairs are made, I will paint the roof with Pro Guard Liquid Roof.

Two vents and the refrigerator roof vent to replace. The vent in the middle is the one the water appeared to flow down into the coach, but the Dicor around that vent appears to be in good health. However, the refrigerator vent on the left of the picture is holed on the front left side and may have allowed water to leak in. Once water is in, it finds it's own path to flow.

Having your own Northern Tool scaffolding makes working on the top of a fifth wheel much easier and a lot less scary for an old guy. It has wheels and outriggers and is easily rolled around to where it is needed.

The Dicor on the right side (nose piece) was laid down first. This Dicor is self leveling so it flows some and levels itself out. However, the self leveling Dicor can NOT be used on the vertical surface. I stopped at this point to allow the Dicor to level out. Hopefully if it rains before I am done, the water on the vertical side will fall to the ground. Eventually, this seam will be covered from end to end with EternaSeam.

Forward drivers side of nose cap rubber roof joint completed.

Forward drivers side of nose cap rubber roof joint completed.

This is the base of the refrigerator vent that I removed.. When I started there was a dime sized hole in the front left side of the base. The base is obviously dry rotted from the sun. The vent base is mounted on a slanted portion of the roof where water could pile up while draining down the roof and flowing around the vent base.

The cover, which has been previously replaced is also in need of replacement. If you buy the cover and base at the same time, you can be sure they will go together properly. All you have to do is make sure the base, regardless of make, covers the refrigerator vent hole.

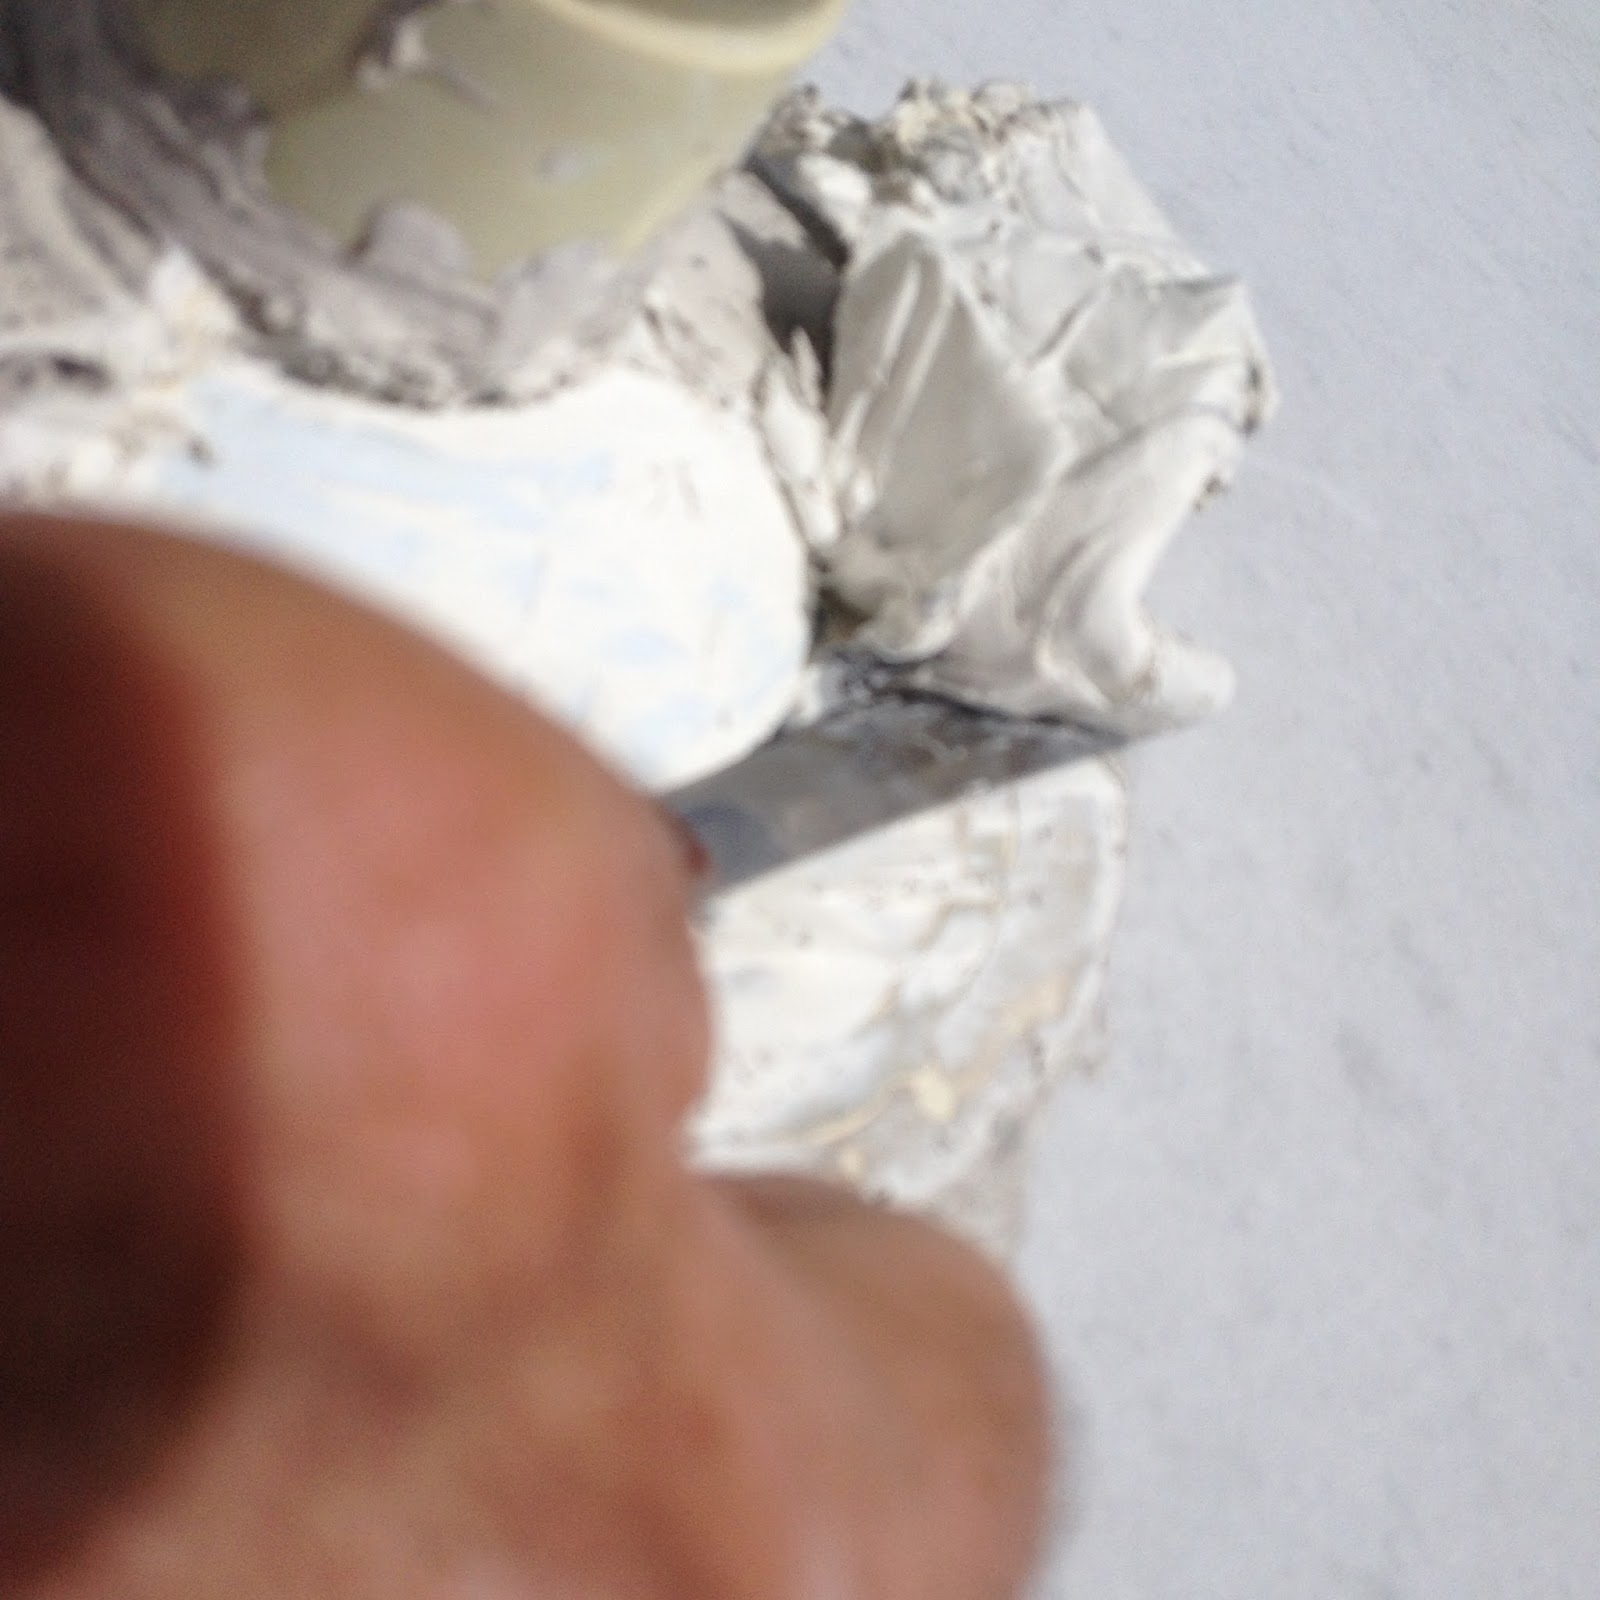
Mastic and Dicor held the base in place. When you see this gray mastic, it means you are going to be doing some real WORK. removing whatever is held down by the gray mastic. The knife is used to cut into the Dicor and also the gray mastic. The outer white looking ring or line around the edge is where Dicor was removed. You can see the gray mastic has pulls everywhere in it. It pulls like some horrible taffy.
Be very careful, the knife I use has no sharp edge, it is closer to a butter knife than a steak knife. You are trying to remove Dicor from your roof membrane. The gray mastic is also attached to the roof membrane.
I try to cut the Dicor at a very slight angle and I do not try to get it all off. I cut off the large lumps and move on.

The cleaned area around where the refrigerator vent base will be mounted.
After I have cut or pulled off as much trash as possible, I put mineral spirits on a rag and wipe both the gray mastic and the old Dicor with my rag. Then wipe off all mineral spirits with a clean rag.
Do NOT pour mineral spirits on a rubber membrane roof, use only a minimum of mineral spirits.
Do NOT pour mineral spirits on a rubber membrane roof, use only a minimum of mineral spirits.

A closeup of a prepared corner area before taping.

Quick Roof Extreme (QRE) 4 inch tape around the refrigerator vent hole. While removing the old vent base, I did manage to cut some of the roof membrane. This tape goes from the inside of the access hole out 4 inches and is laid over the gray mastic and the old Dicor after wiping them clean with mineral spirits. The tape was then rolled using a large 1 inch socket o apply pressure as well as my hands.
Information on Quick Roof Extreme: http://cofair.com/quickroofextreme.aspx

A closeup of a cleaned and prepared corner for the refrigerator vent.

The refrigerator vent base installed with putty tape under the vent base and Dicor lap sealant over outside seams and screw heads. Pictures with a blue cast were taken in the evening when the sun was low in the West.

Replacement vent cover in place overnight to protect against rain.

I cut three strips of QRE and placed one on each side of the vent pipe. The third strip was cut out to fit closely over the vent pipe. The new vent was mounted with putty tape under the base and screwed down with stainless steel screws. Each seam was covered with Dicor lap sealant.

A couple years ago, I replaced the vent caps with this style. I did not like them and all of them were destroyed over time.

This one is ready to disassemble. The attaching screws are under the base plate and screw the outer cover to the vent tube.
Using my knife to remove Dicor sealant. I always try to cut towards the vent tube with the knife blade as close to parallel with the surface as I can. My goal is to remove as much old sealant as I can.

One hand holds the knife and I apply pressure with the fingers of my other hand. Cut in towards the pipe carefully, do not cut the rubber roof membrane.

There may or may not be putty or sealant under the base being removed. I use, my knife, putty knife and often paint stirring sticks to hold the base above the sticky putty, mastic or sealant underneath.

Prepared to remove the tan upright pipe from the vent tube. You will have to remove ant sealant from the side of the pipe to locate any screws. DO NOT put a lot of torque on the vent pipe, you will not be happy if it breaks inside the camper walls.

Screw location where pipe and roof come together. In this case there were three screws.

Dicor lap sealant in place on all refrigerator QRE vent tape seams.

Last grey water vent completed with Dicor lap sealant on all QRE tape seams.

From this viewpoint, looking forward, I have completed three tank vents completed and have sealed the nose piece/rubber roof joint.

Today's roof working costume for playing in the sun. Exposed areas are covered with judicious amounts Ocean Potion. I started using Ocean Potion years ago while working on the various police firearms ranges. Ocean Potion does not run into your eyes when you sweat. I put it on in the morning as soon as I dry from the shower. while you are still damp. Then dress and by the time you arrive at the range it will not run when you sweat. Skip the shaving, it stings a little on a fresh shave. I carefully wipe off any on my lips or the palms of my hands and fingers.

Roof brackets are next.

Cut off all old Dicor lap sealant.

Inspect screws holding bracket in place and tighten as required.

Lightly wipe surrounding are with Mineral Spirits on a rag. I am going to place QRE tape around the mount to strengthen the rubber roof. So make sure you wipe off an area large enough for the tape used.

On each side of the mount, fore and aft I placed a two inch strip of QRE about six inches long parallel to each other. Then in the other direction I place two 4 inch strips each about six inches long. I rolled them and then applied Dicor lap sealant over the mount and all seams and edges of the tape.

Aft mount.

Forward mount

Both mounts on the right (door) side of the RV. The tape fore and aft was cut at a two inch width to keep the Dicor self leveling lap sealant away from the vertical side of the RV.

TV antenna

TV antenna with all old Dicor removed, wiped clean with mineral spirits and ready to apply QFR and Dicor self leveling lap sealant.

TV antenna as completed.

Bummer, it has rained and more water appears to be dripping out of the nose cap. I looked over everything and I am sure the water is NOT coming from the rubber roof nose cap joint. The trailer clearance lights along the top of the nose cap lenses are somewhat cracked and some of the lights appear to have water in them. I have more on order, but the supply place is waiting for their supplier.

Tail cap rubber roof joint on passenger side also in need of upgrade

Same joint as above on the drivers side.

End cap rubber roof joint across RV.

Scaffold set up. Damn good investment if you need to do your own work. This is much easier than hanging off a ladder.

Leg brace very close to end cap rubber roof joint which led to a lot of extra taping. Even though I used the EternaSeam on the forward joint, I switched to QRF tape as it was much easier to work with.

Rear end cap rubber roof seam. I am preparing to tape the corner. On the vertical I used Dicor no sag lap sealant and I tried the trick of smoothing the sealant with a finger dipped in a mixture of Dawn soap and water to mold the sealant.

This view lets you see some of the taping. I tried to put the 4 inch tape on the end cap fiberglass side first and then let the tape fall over the seam. Then I went back on the rubber roof side ond again let the 4 inch tape fall over the seam.

Regardless of the tape used, 4 inch or six inch, either brand, the tape locked itself together and formed the ears shown here. Directions say do NOT stretch the tape!!!!

I took a pair of scissors I had in the freezer, wiped the blade with mineral spirits and the cut the ears off as close as possible.

This is a caulking gun I made from a fuel oil mixer I found at WalMart. I needed a short, one hand lightweight caulking tool for the Dicor no sag sealant.

It had a ring on the top that broke off so I ground the stub off by rubbing it against the concrete driveway.

Pax side rear complete.

Drivers side rear complete. At this point, all of my really bad Dicor joints have been resolved so I have to now start sealing the joints on the side of the RV. I also have ordered and am awaiting shipment for all new LED clearance lights. I think some of the water in the nose cap area is coming from either a side joint or a clearance light.
When I started this particular adventure I thought it might run into two weeks. It has now been over three weeks but I know the roof is secure. later I will go back up and tape around the roof vent covers and do the remaining brackets.
Then I plan to change the air conditioner gasket and perhaps the air conditioner before painting the entire roof with EPDM rubber roof paint
More adventures to follow.
